{{ page.title }}

{{ page.description }}

Enabling live redundancy

The Live Redundancy feature is enabled by adding two or more streams to a live channel in the Live module.

  1. Create a live channel using the Live module. For complete information on creating a live channel, see Creating and Managing Live Channels using the Live Module.
  2. In the Stream Options section, name and select the region of your streams. Click + Add a Backup Stream to add additional backup streams.
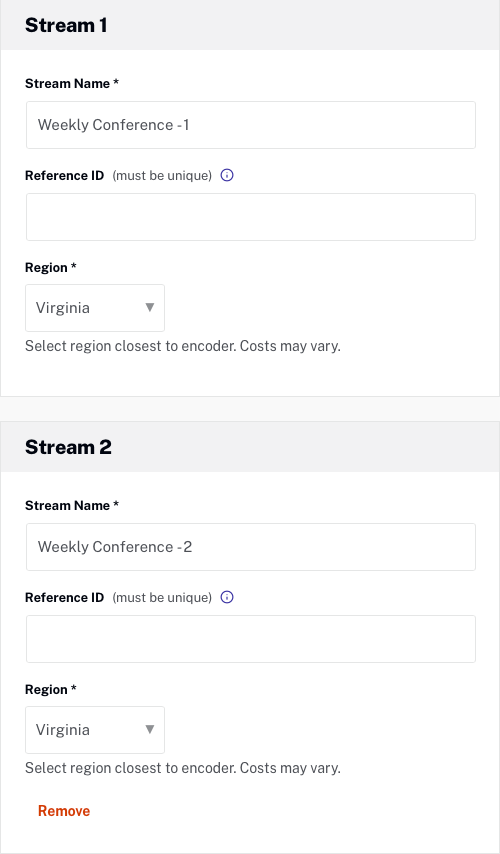
  3. Click + Add a Backup Stream to add a backup (redundant) stream to the live channel. You can add as many backup streams as your account supports.
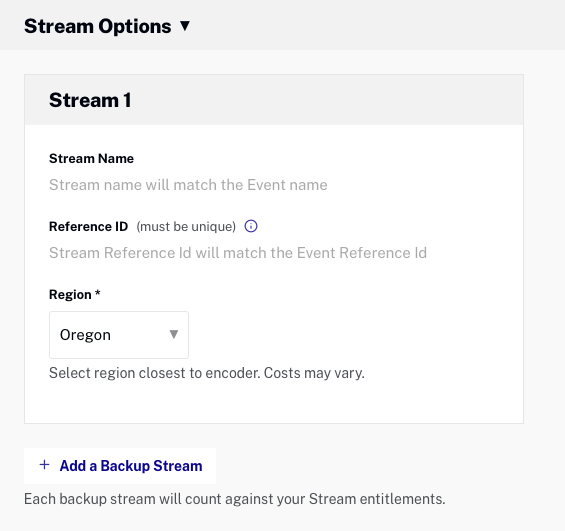
  4. Name your primary and backup streams, and select a Region that is closest to where your encoder is located. By default, the Region is set to Oregon (US West) which may result in degraded performance if you are streaming from another continent. The Reference ID is an optional identifier for internal use and must be unique (max 150 characters).
  5. Complete the live channel setup.
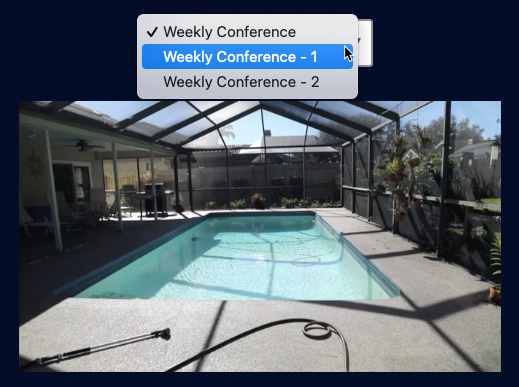
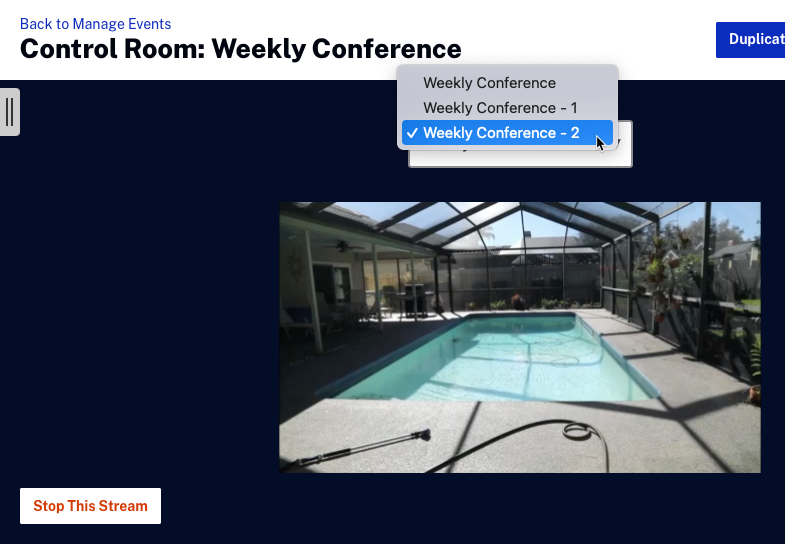
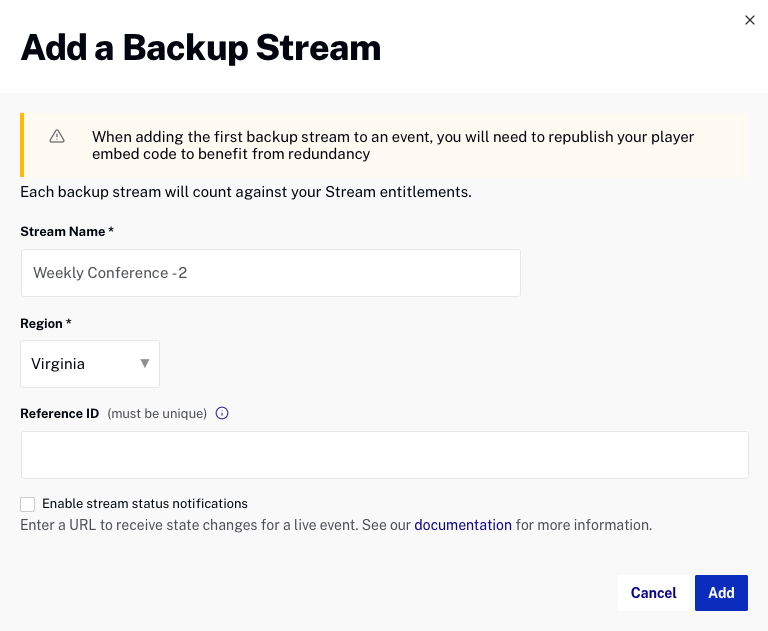
  6. Alternatively, you can also add a backup stream from the Control Room page by clicking Add a Backup Stream.
  7. Enter the Stream Name and Region.
  8. The Control Room will display the Endpoint and Stream Name details for each stream.
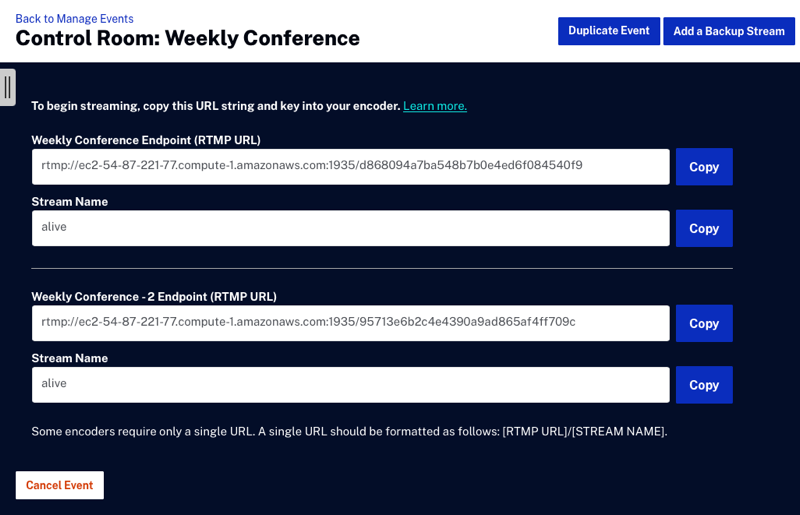
  9. Stream information is displayed in the Control Room while the channel is streaming.

Clipping

Video clipping will be available for each stream by selecting the desired stream from the drop-down menu above the preview player. For information on creating a clip, see Creating a Video Clip Using the Live Module.

Monitoring

Click the Monitoring tab below the preview player to view monitoring information. Monitoring is available for each stream by selecting the desired stream from the dropdown list.

Monitoring information is available while a channel is in progress and for up to 1 hour after the channel ends.

Stopping a stream

To stop a backup stream, on the Control Room page, select the stream from the dropdown list and then click Stop This Stream. Stopping a stream will immediately remove that stream from the group.

To stop all streams, select the channel name from the dropdown list and then click Stop All Streams.

Removing idle channels

When a redundant channel ends, it will appear on the Completed channels page with a status of Idle. Idle channels will count against your redundant group account limit. To not have the redundant channel count against your account limit, change the channel status from Idle to Closed by closing the channel.

  1. On the Manage Channels page, click the Completed tab.
  2. The redundant channel should be in an Idle state.
  3. Click on the channel group and then click Close to move the redundant channel to a Completed state.